Airbrush for Beginners: What to Know Before You Start Painting Models
Published How we research
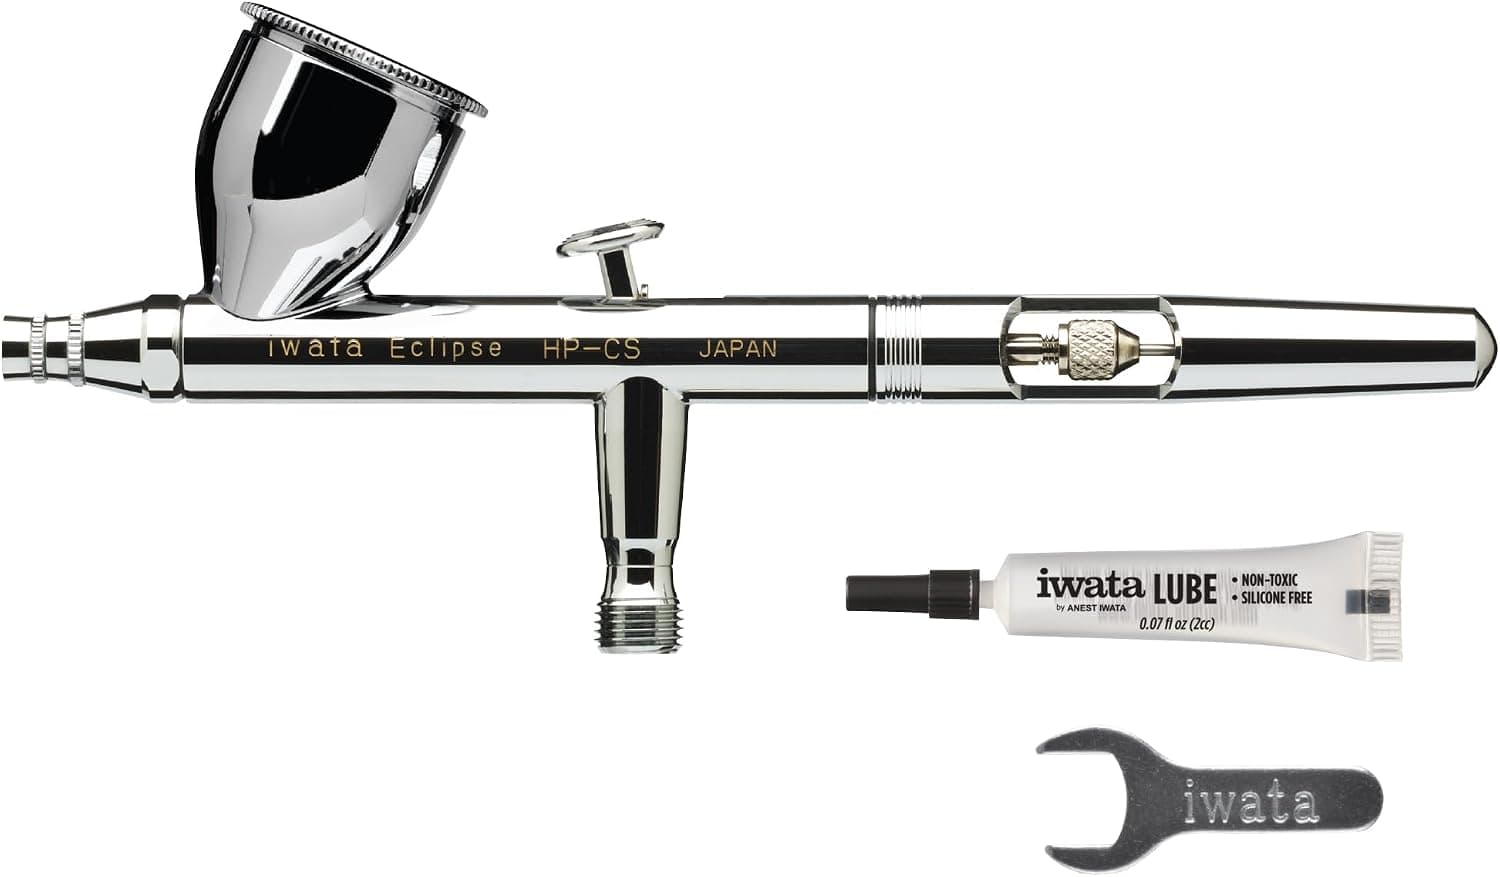
An airbrush sprays thin, even layers of paint using compressed air, which is why so many scale modelers use one for smooth color, camouflage patterns and glossy finishes. A beginner needs more than the airbrush itself: a compressor, a way to ventilate the room, thinned paint, and a cleaning routine. This guide covers the basics so your first sessions go smoothly instead of ending in a clogged nozzle and a frustrating spray pattern.
Products from this article
The highest-scoring picks from the buying guides this article links to. Scores are our editorial assessment, not customer ratings.
+ Dual action trigger gives control over air and paint flow
From our guide: Best Airbrushes for Scale Models
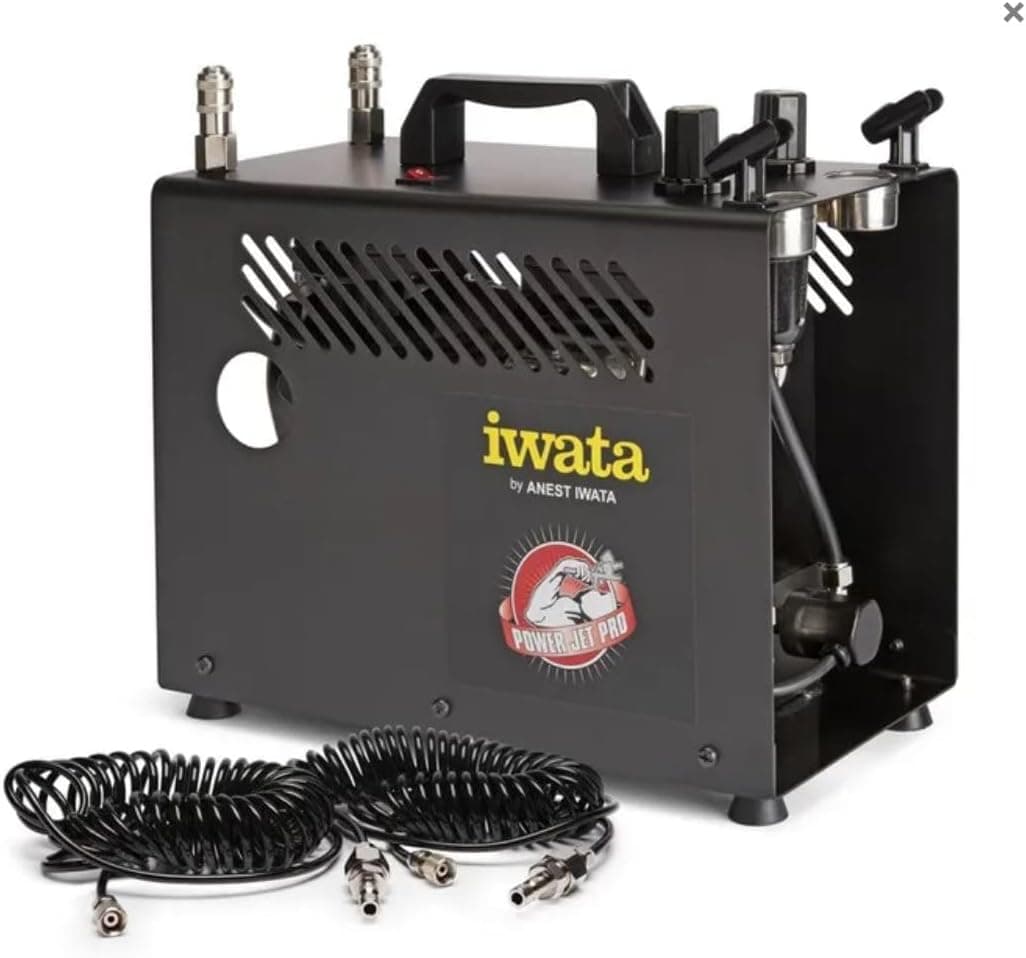
+ Power Jet Pro offers strong, steady airflow
From our guide: Best Airbrush Compressors for Model Building
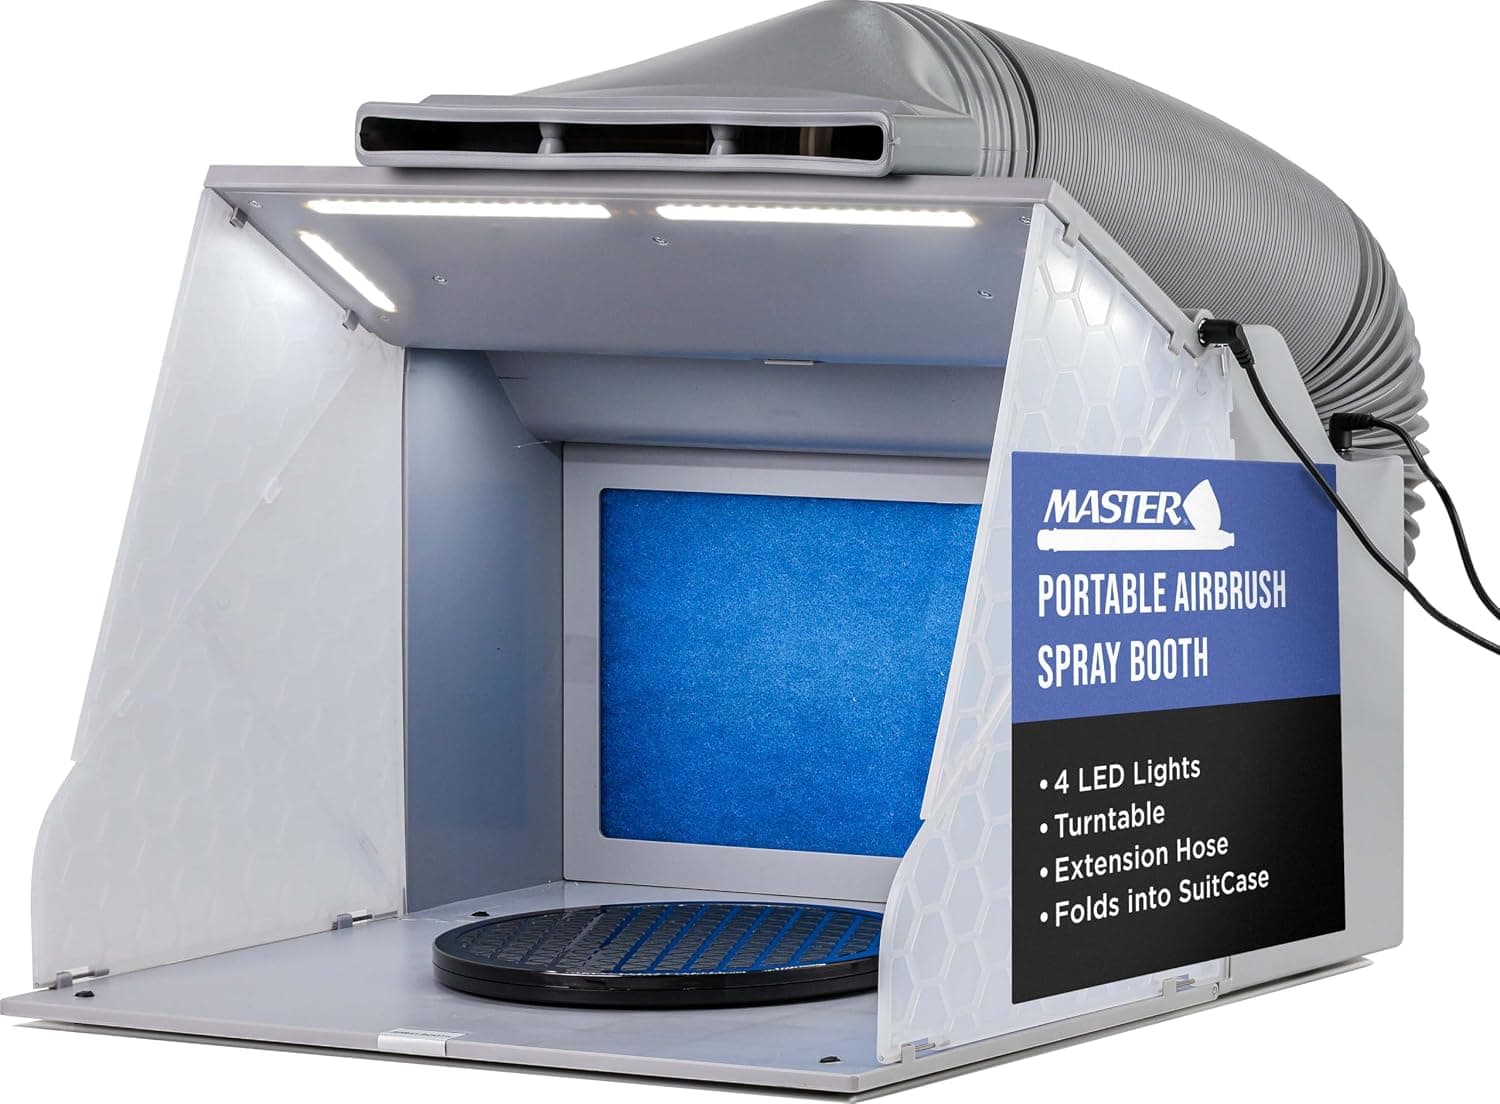
+ Dual exhaust fans pull overspray more strongly
From our guide: Best Spray Booths for Scale Modeling
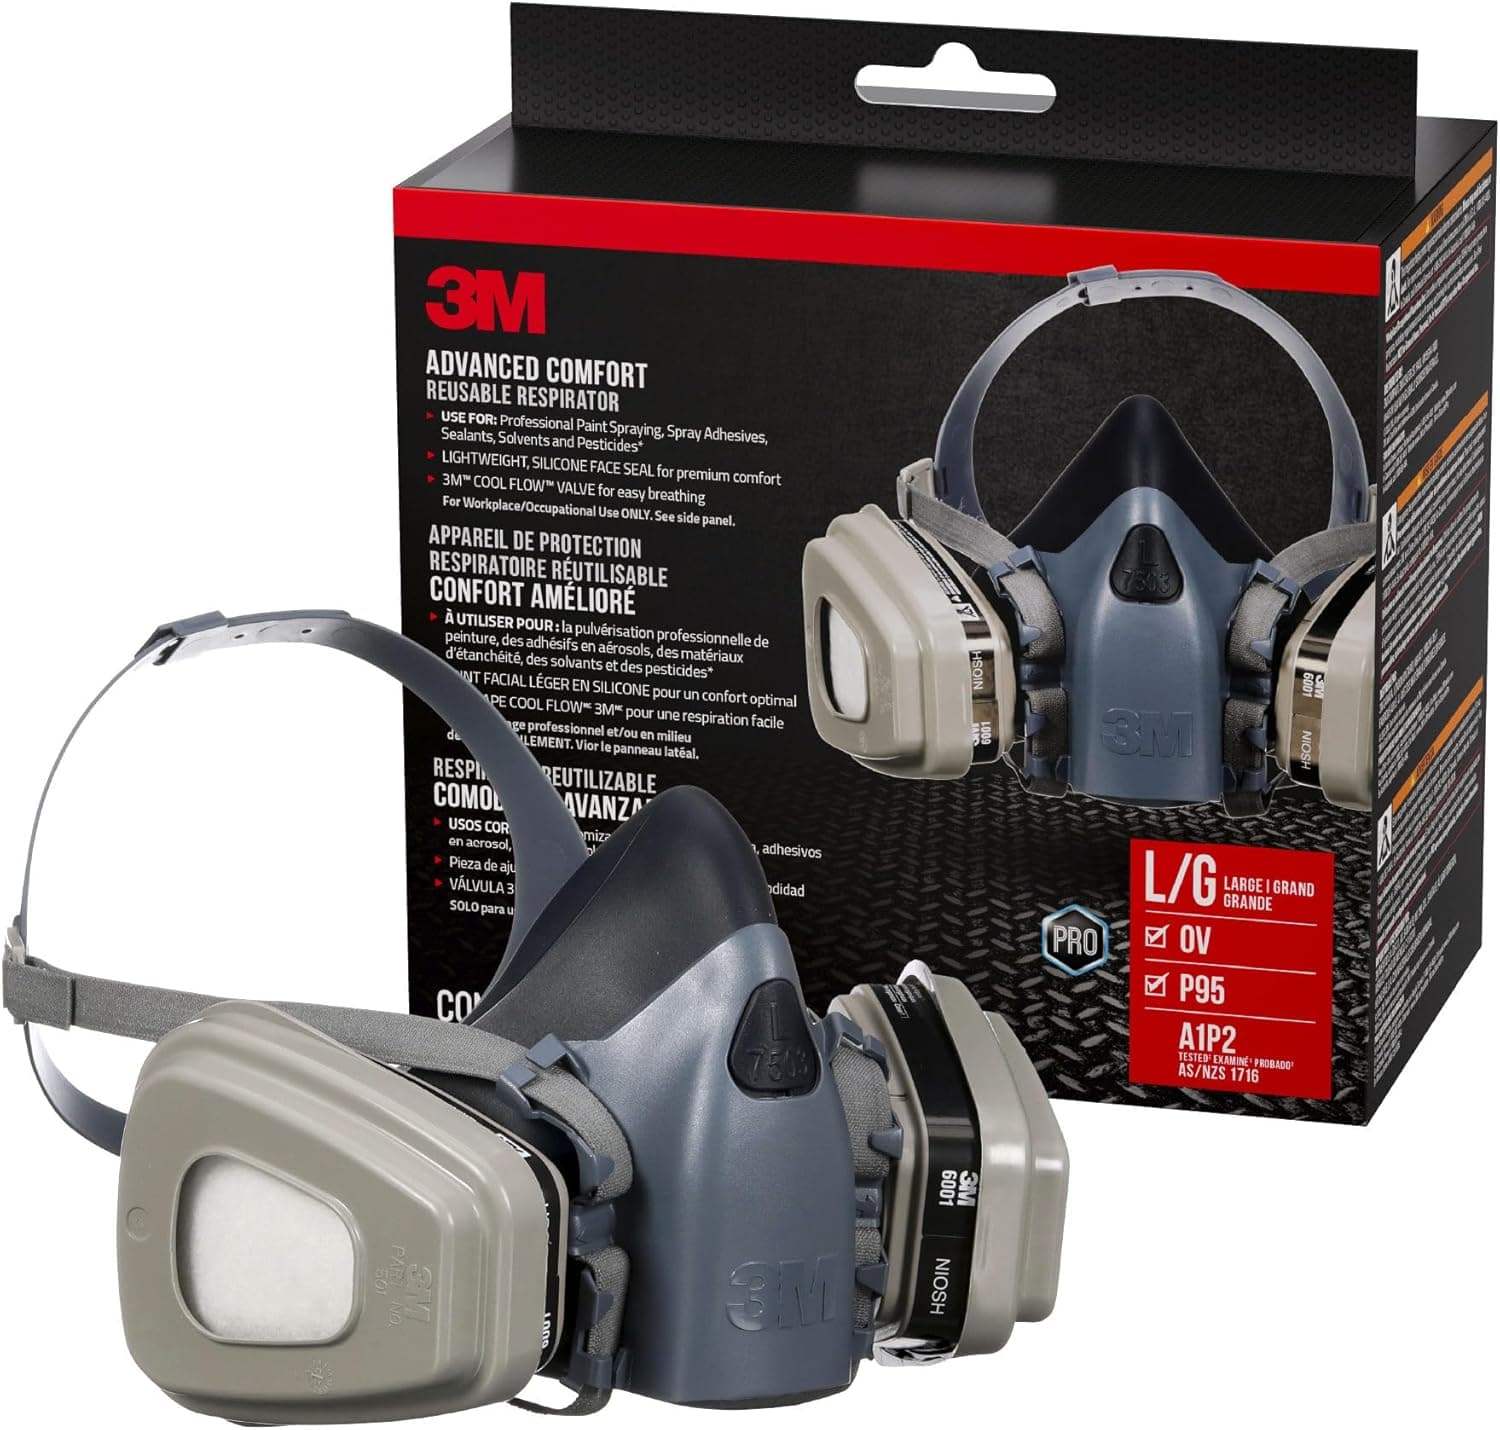
+ Organic vapor cartridges protect against paint solvents
From our guide: Best Respirators for Hobby Painting
What an airbrush actually does
An airbrush mixes paint with a stream of compressed air and atomizes it into a fine mist. Pull the trigger back and air flows; with a double-action design, pulling it back also draws the needle out of the nozzle and lets paint through, so you control air and paint with a single finger. That control is what lets you spray a hairline camouflage edge in one pass and a soft, wide fade on the next.
Compared with a brush, an airbrush leaves no brush strokes and lays down very thin coats, which keeps surface detail like rivets and panel lines sharp. Compared with a rattle can, it uses far less paint, lets you mix custom colors and sprays much smaller areas. It also demands more setup and practice, and that is the trade-off most beginners should weigh before buying.
The equipment you need
The core kit is an airbrush, an air source, a hose, and a safe place to spray. Most hobby airbrushes are gravity-feed, with the paint cup on top, which suits the small amounts of paint model work uses. For the air source, a small compressor with a regulator is the common choice, and a moisture trap on the line helps keep water droplets out of your paint.
Beyond that, buy a bottle of airbrush cleaner, a set of cleaning brushes, a stand to hold the tool, paper towels, and a few jars for mixing paint. A spray booth or at least a ventilated work area matters too, since the mist spreads further than you expect. Our guides to airbrushes and compressors compare the choices in detail.
Choosing your first paint
Many beginners start with water-based acrylics made for airbrushing, since they clean up with less aggressive solvents and have a milder smell than enamels or lacquers. Paint made for airbrushing is often already thinned close to the right consistency, which removes one common source of trouble. Others prefer lacquers or enamels because of their finish, but they require more careful ventilation and respiratory protection.
Whatever you pick, stick with one paint line while you learn so you are not guessing about compatibility between brands. Read the label for thinning guidance, and always test a small sample on scrap plastic before painting a real model. A coat of primer on the plastic helps almost any paint stick better and reveals flaws before color goes on.
Thinning and pressure basics
The most common beginner problems come from paint that is too thick or air pressure that does not suit it. If the paint is too thick, the airbrush spits and clogs. If it is too thin, it runs and pools. The usual target is a consistency somewhere near that of milk, but each paint behaves differently, so follow the maker's advice and adjust in small steps.
Pressure is a starting point rather than a rule. Many builders spray at moderate pressure for general coverage and lower it for fine detail work, but the right number depends on the paint, the airbrush and the distance to the model. Test on cardboard or scrap plastic, and change one thing at a time so you know what caused a change.
Practice before you touch a kit
Spend your first few sessions on scrap: an old model, a plastic spoon, or a piece of card. Practice straight lines, then dots, then slow back-and-forth passes with even overlap. Keep the airbrush a steady distance from the surface, and start spraying just before the object and finish just after it to avoid heavy spots.
Then practice on an actual shape, such as a spare fuselage or a car body, using thin coats and letting each dry between passes. Several light layers beat one wet coat, which tends to run or pool in recesses. Mistakes at this stage cost nothing, and you will quickly see how distance, pressure and paint thickness change the finish.
Safety and cleanup
Airbrushing puts fine particles in the air, so ventilation and a suitable respirator are important, especially with solvent-based paints. Check the paint's safety data and follow its guidance. Keep solvents away from heat, sparks and open flame, and do not spray in a closed room with no airflow. A spray booth with an extraction fan makes it much safer and keeps dust out of your work.
Clean the airbrush after every session; dried paint is the biggest reason beginners give up. Rinse between colors, back-flush gently, and strip the airbrush when the spray looks uneven. Cleaning steps are covered in the maker's manual, and a respirator guide can help you choose protective gear.
Frequently asked questions
Do I need an airbrush to build good models? No. Brush painting and spray cans can produce excellent results. An airbrush mainly helps with smooth gradients, camouflage and thin coats.
Is an airbrush hard to learn? It takes practice, mostly with paint consistency and distance control. Most people see steady progress after a handful of sessions on scrap.
Which airbrush type is best to start with? Many beginners choose a double-action gravity-feed airbrush, because it handles fine detail and small paint amounts. Single-action models are simpler but give less control.
Can I use the same airbrush for acrylic and enamel paint? Often yes, if you clean it thoroughly between types and check the manual for compatible solvents.
Popular right now
- Best Magnifiers for Scale ModelingBuying guide
- Best Modeling Putty: Fill Seams and Gaps Like a ProBuying guide
- Best Airbrush Cleaners for ModelersBuying guide
- Best Hobby Lamps for Model BuildingBuying guide
- Best Brush Sets for Model Painting: Detail Brushes That Keep Their PointBuying guide
- Restoring Old Model KitsArticle
Based on the last 28 days of search and visitor data.