How to Paint Model Cars: From Bare Plastic to a Glossy Finish
Published How we research
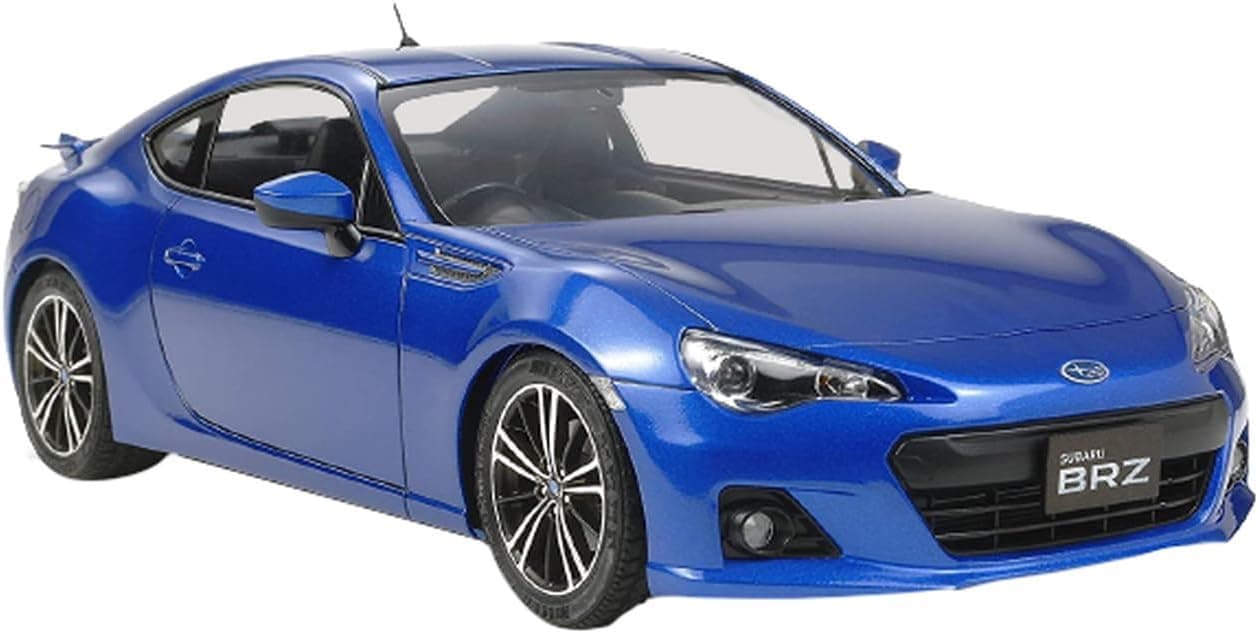
To paint a model car, sand and wash the body, prime it, spray the color in several light coats from a can or airbrush, apply decals, seal everything under a gloss clear coat, and polish the clear once it has cured. The shine on a finished car comes from the clear coat and the polishing, not from the color paint itself, which is why car bodies are painted in a different order and with more patience than an aircraft or a tank. A car body is one large, smooth, curved surface with nowhere to hide a run, a dust speck or a fingerprint, so every stage below is about getting that surface flat and clean before the next layer goes on. The process takes a week or two of elapsed time, most of it waiting for paint to cure, and the gear list is short: sanding sticks, primer, color, gloss clear, wet-and-dry paper and polishing compound.
Step 1: Prepare the body before any paint
Start by finding the mold lines. On most car bodies they run along the top of the fenders, across the roof pillars and down the rear quarter panels, and they look like faint raised seams. Scrape them down with the back of a hobby knife blade, then sand the area with a 600 to 800 grit sanding stick until you cannot feel a ridge with a fingernail. Remove the sprue attachment nubs the same way. Check the sanded areas under a lamp at a low angle: anything you can see now will be twice as visible under gloss paint. Finish with 1000 grit so the whole body has a uniform, slightly dull surface for the primer to grip.
Wash the body in warm water with a drop of dish soap, scrub gently with an old soft toothbrush, rinse and let it air dry. Molding release agent and sanding dust are the two usual causes of paint that fisheyes or lifts later, and the wash removes both. From this point on, handle the body only by the inside or by a holder. A bent wire coat hanger hooked through the window openings, or a scrap of wood with double-sided tape pushed up under the roof, lets you spray every panel without touching it and gives you something to hang the body from while it dries.
Step 2: Prime, then sand the primer
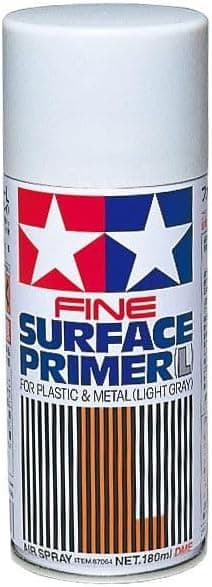
Primer does two jobs on a car body: it shows you every scratch and low spot you missed, and it gives the color coat an even base so the shade comes out the same on every panel. Use a fine hobby primer, not a hardware store automotive primer, because the hobby versions are ground finer and do not bury the door lines and emblems. Spray two or three light coats about 10 to 15 minutes apart from 20 to 30 cm away, moving the can across the body in overlapping passes that start and end off the part.
Pick the primer color to suit the top coat. Gray works under most colors. White goes under red, yellow and orange, which are translucent and turn muddy over gray. Black or dark gray goes under metallics, candies and deep colors, where it adds depth. Once the primer has dried for a day, wet sand it with 1500 to 2000 grit paper, using a drop of dish soap in the water so the paper does not clog. The goal is a satin-smooth surface, not bare plastic, so stop as soon as the texture is gone. Wash and dry the body again, then wipe it with a tack cloth or a lint-free cloth right before the color goes on.
Step 3: Spray the color in light coats
Hobby lacquer spray cans are the standard choice for car bodies because they dry fast, level well and polish to a high gloss. Stand the can in a bowl of warm tap water for 5 to 10 minutes before spraying, never hot water, then shake it for a full minute. Warm paint atomizes finer and the finish comes out smoother. Spray the first pass as a light mist coat that barely colors the primer, wait 10 to 15 minutes, then follow with two or three wetter coats that flow together into a continuous film. Keep the can moving the whole time and keep the same 20 to 30 cm distance. Coverage usually takes three to four coats in total; it is always better to add another thin coat than to try to finish in one heavy one.
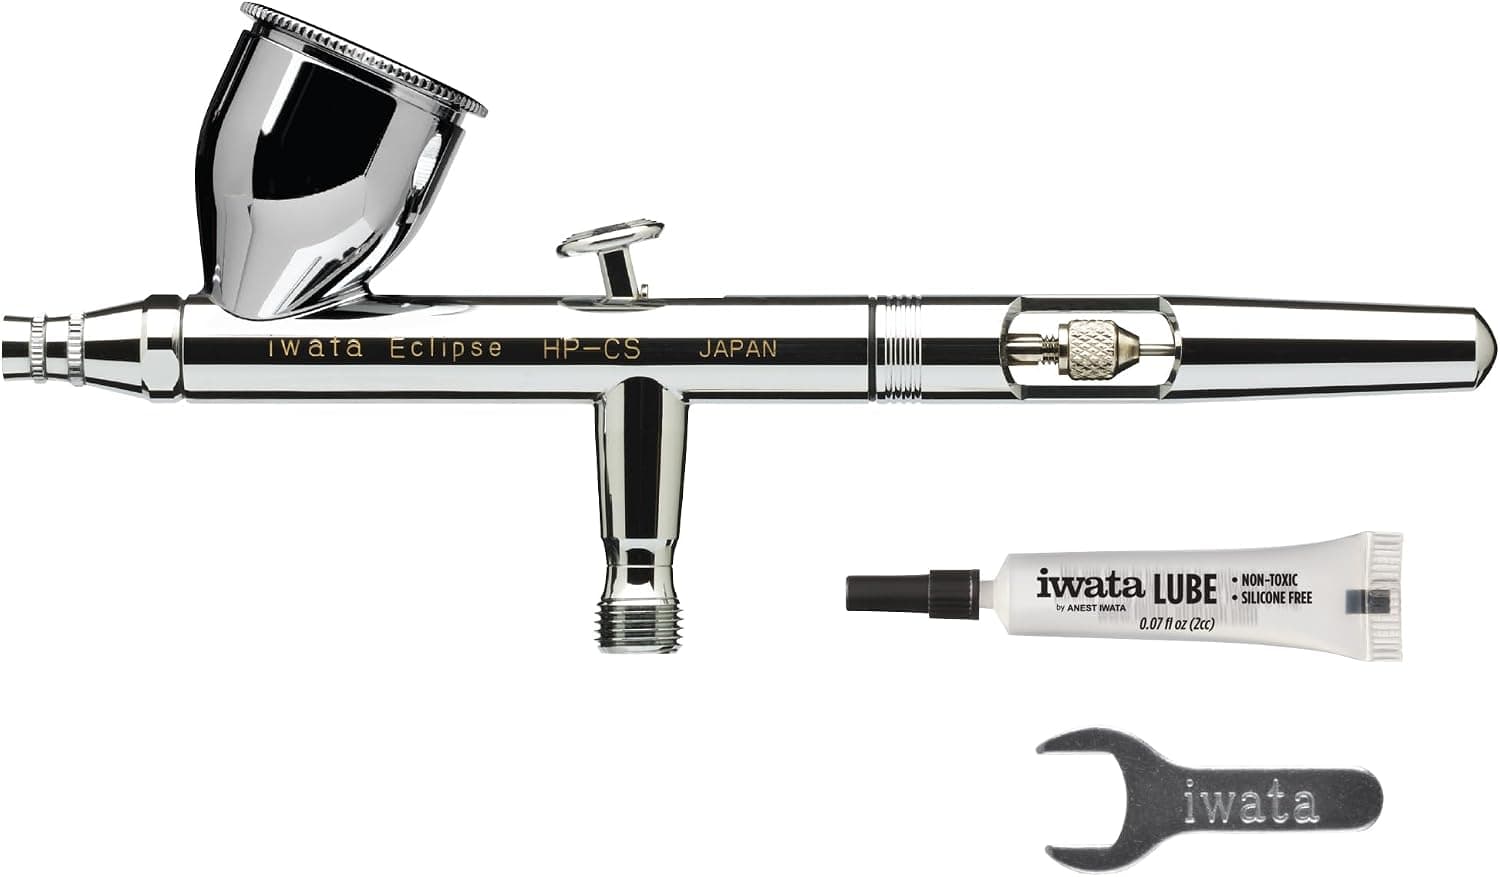
An airbrush gives more control, especially for two-tone schemes and small bodies in 1/32 or 1/43 scale. Thin lacquer or acrylic paint to roughly the consistency of milk, spray at 15 to 20 psi with a 0.3 to 0.5 mm nozzle, and build the color in the same mist-then-wet sequence. Many builders decant spray can paint into the airbrush cup through a straw taped to the nozzle, which gives the color range of the cans with the control of the airbrush. Whichever tool you use, practice the spray pattern on a plastic spoon first. A spoon has the same curves as a fender and shows exactly how wet a coat you can lay down before it runs.
Let the color cure for at least two or three days before you touch it for decals or masking, longer for enamels. Lacquer feels dry to the touch in minutes but keeps shrinking and gassing out for days, and a clear coat applied over paint that is still outgassing can craze. The compatibility rule is simple: lacquer under enamel, enamel under acrylic, and never a hot lacquer over a cooler paint that has not fully cured.
Step 4: Decals, then gloss clear coat
On a car body the decals go on before the clear coat, not after, so that the clear buries the carrier film and the stripes and sponsor logos end up looking painted on. Apply them onto the glossy color coat using a setting solution, let them dry overnight, then wipe the body with a damp cloth to remove any residue from the decal water. Any wrinkles or edges you can still see now will show forever once the clear is on, so this is the moment to fix them with another drop of softener.
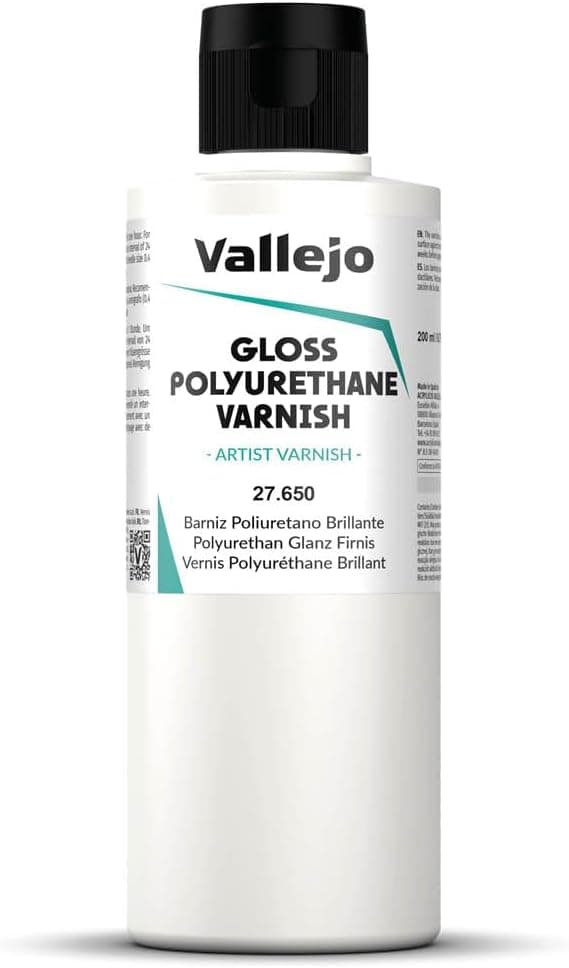
Spray the gloss clear the same way as the color: one mist coat, then two or three wet coats 10 to 15 minutes apart. The wet coats should look glassy as they land; that is where the depth comes from. The usual mistake is to stop while the surface is still slightly dry and dusty, which leaves orange peel that you then have to sand out. Use a clear from the same paint family as the color, or an acrylic clear if you are unsure, because a lacquer clear over fresh enamel or over some decals can wrinkle them. Hang the body somewhere dust-free and leave it alone for at least a week before polishing. The clear needs that time to harden all the way through, and polishing a soft clear just smears it.
Step 5: Wet sand and polish to a mirror shine
Polishing is what separates a model car from a model car that looks like paint. Begin by wet sanding the cured clear with 2000 grit paper, then 3000, using plenty of soapy water and almost no pressure, until the whole surface has an even dull haze with no shiny low spots left. The haze means the orange peel is gone. Keep well away from panel edges, roof pillars and raised trim: the clear is thinnest there and burning through to the color takes one careless stroke. Many builders skip the paper on small bodies and go straight to compound, which is slower but safer.
Work through the polishing compounds in order, coarse, fine and finish, with a clean soft cloth for each grade and small circular motions. Wipe the body clean between grades so you do not drag coarse grit into the fine stage. After the finish compound the paint should reflect a window frame clearly. A coat of hobby wax at the end adds a little depth and makes fingerprints easier to wipe off, but it is optional. If you find a dust nib at this stage, sand it locally with 3000 grit and re-polish that spot rather than the whole panel.
Interiors, chassis, chrome and windows
The rest of the car is painted with the same tools but a different finish. Interiors are flat or satin: spray the tub in a base color, then brush paint seats, dashboard and door cards and pick out details with a fine brush. Chassis and engine bays are usually semi-gloss or flat black with the suspension, exhaust and engine picked out in metallics. None of these parts need clear coat or polishing, which is why they are the place to practice before the body.
Chrome trim is the hardest detail to fake. The two standard methods are chrome foil, which is burnished onto the trim with a cotton swab and trimmed with a new blade, and a liquid chrome marker, which works well on window surrounds and emblems. Both are applied after the body is polished. Windows and lights are the last parts on. Mask the clear glass with low-tack tape if you need to paint window frames, and attach the glass with a clear-drying PVA type glue, never plastic cement or super glue, which fog and craze clear parts.
Troubleshooting the common car body problems
Orange peel, a bumpy skin like the fruit, means the paint landed too dry: the can was too far away, too cold, or the coats were too light. Fix it by wet sanding with 2000 grit and polishing, or by spraying one more wet coat of clear. Runs and sags mean the opposite: too close, too wet or too many passes over one spot. Let a run cure completely for several days, slice the top off with a sharp blade held flat, sand it level with 1500 then 2000 grit and re-clear the panel.
Fisheyes, small round craters where the paint pulls away from a spot, come from silicone or grease: a fingerprint, mold release or furniture polish in the air. Let it dry, sand the craters out, wash with dish soap and respray. Crazing or wrinkling means a hot lacquer went over paint that was not cured, or over a decal with a soft film. There is no quick fix: strip the body in a bath of purple degreaser or isopropyl alcohol for a day, scrub, and start again from primer. Dust nibs are inevitable in a home workshop; cover the drying body with a clean box and polish out the ones that remain.
Frequently asked questions
Can I paint a model car with a brush? Small areas yes, but a whole body no. Brush marks and overlap lines show most on a large smooth panel, and no amount of polishing hides them. If you do not want an airbrush, a hobby lacquer spray can is the practical answer and gives results very close to airbrushed paint.
How long should I wait between painting and polishing? Allow at least a week after the last clear coat, two weeks for enamel clears. Polishing earlier leaves smears and swirl marks because the clear is still soft under the surface. The paint should smell of nothing when you hold the body to your nose; if you can still smell solvent, it is still curing.
Do I need a clear coat if the color paint is already glossy? For a show finish, yes. The color coat is never flat enough to polish safely because it is too thin, and decals applied on top of it would sit proud of the surface. The clear gives you a thick, sandable layer that buries the decals and takes the polishing without burning through to the color.
What is the best scale for a first painted car? 1/24 or 1/25 is the standard car kit scale and the easiest to paint: the panels are big enough for a spray can to lay a wet coat, and the body is still small enough to handle on a holder. Smaller 1/43 bodies need an airbrush to avoid flooding the detail.
Products from this article
The highest-scoring picks from the buying guides mentioned above. Scores are our editorial assessment, not customer ratings.
+ Tamiya fit makes body and chassis come together without fighting parts
From our guide: Best Model Car Kits: Top Builds for Scale Modelers
+ Very fine spray preserves delicate surface detail
From our guide: Best Model Primers: Surface Prep That Makes Every Paint Job Better
+ Polyurethane formula resists handling wear well
From our guide: Best Clear Coats for Models: Gloss, Satin, and Matte Finishes Compared
+ Dual action trigger gives control over air and paint flow
From our guide: Best Airbrushes for Scale Models
Popular right now
- Best Magnifiers for Scale ModelingBuying guide
- Best Modeling Putty: Fill Seams and Gaps Like a ProBuying guide
- Best Airbrush Cleaners for ModelersBuying guide
- Best Hobby Lamps for Model BuildingBuying guide
- Best Brush Sets for Model Painting: Detail Brushes That Keep Their PointBuying guide
- Restoring Old Model KitsArticle
Based on the last 28 days of search and visitor data.