How to Panel Line Gunpla: Markers, Washes and Clean Technique
Published How we research

To panel line a Gunpla kit, run a thin dark line into the molded grooves, wipe away the excess, and seal the result under a clear coat. The quickest method is a fine-tip panel line marker; an enamel wash gives smoother, more even lines, and a sharp mechanical pencil works on light gray plastic. All three depend on the same things: a clean surface, grooves deep enough to hold the line, and a top coat so the line survives handling.
Products from this article
The highest-scoring picks from the buying guides this article links to. Scores are our editorial assessment, not customer ratings.
+ 3-Colors set covers light, dark and earthy model schemes
From our guide: Best Panel Line Washes: Accent Colors That Bring Detail to Life
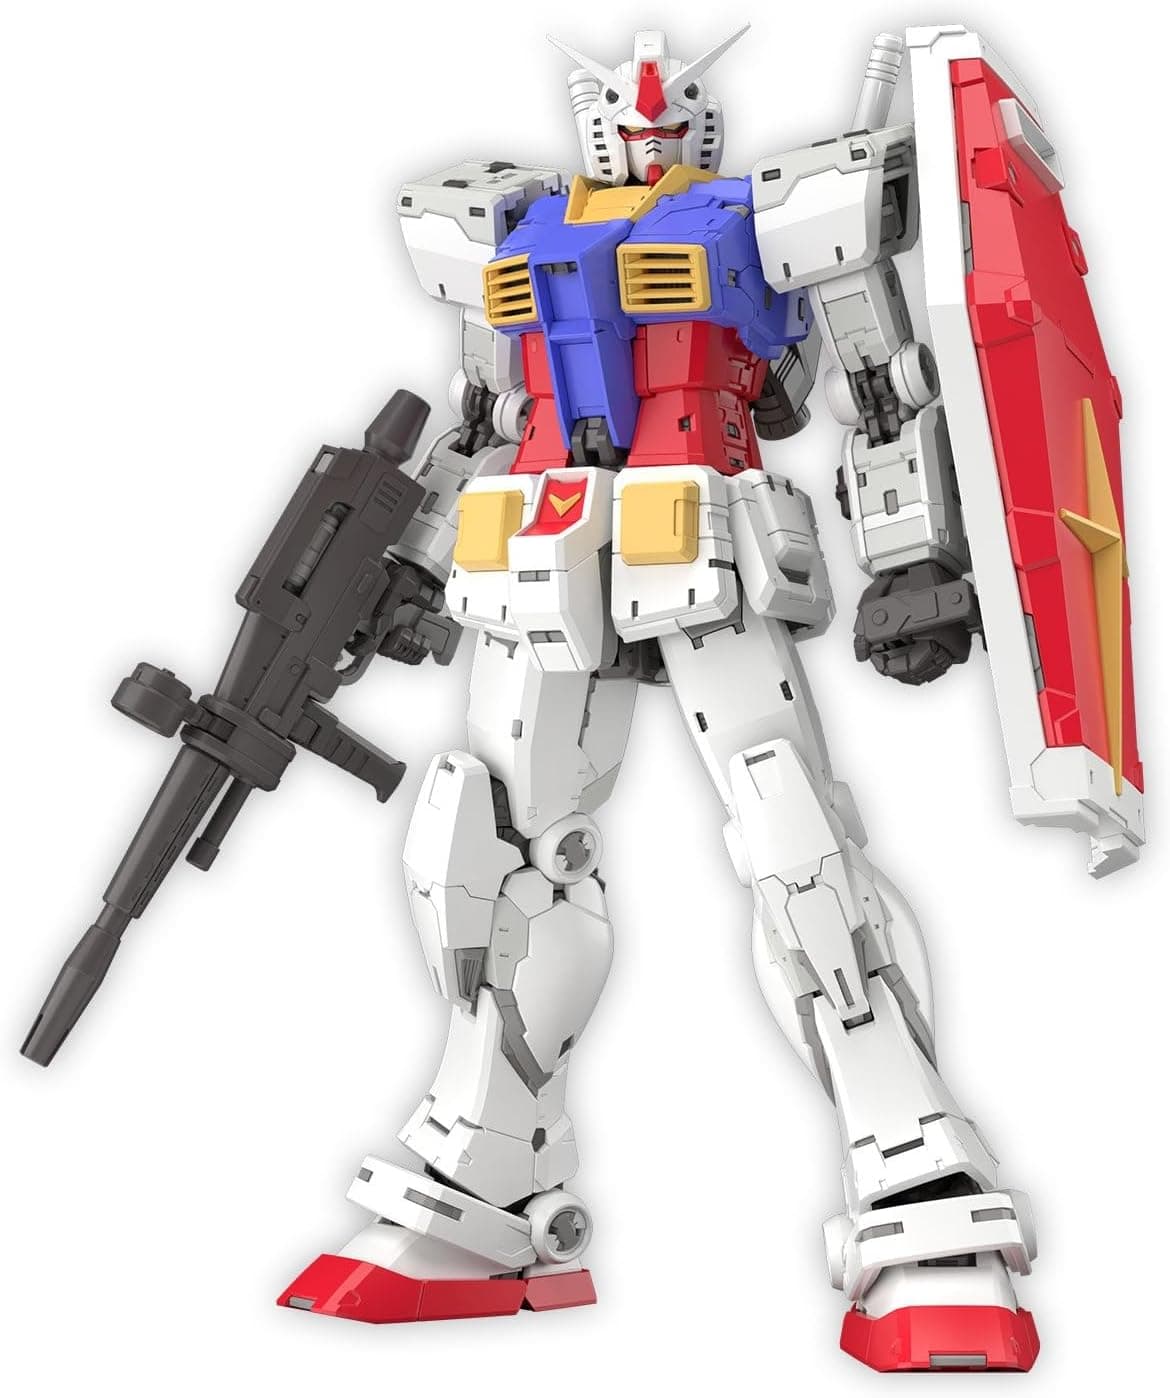
+ Updated Ver. 2.0 engineering improves joint strength and posing
From our guide: Best Gundam Model Kits: Top Gunpla for Every Grade
+ 0.15mm tungsten tip cuts fine, crisp panel lines
From our guide: Best Scriber Tools: Rescribe Panel Lines with Precision
+ Ready-to-use wash flows into panel lines by itself
From our guide: Best Panel Line Washes: Accent Colors That Bring Detail to Life


Pick the method that suits your kit
Gunpla kits come molded in color, so panel lining is often the single step that moves a build from toy-like to detailed. Three methods cover nearly every case. A panel line marker is the easiest: you draw along the groove and clean up with a cotton swab or eraser. A wash, usually a thin enamel panel line accent color, is brushed on and flows into grooves by capillary action, which gives the most even result on long lines. A mechanical pencil leaves a soft gray line and is forgiving, but it is lighter and can smudge more.
For a first build, start with a marker. Choose black for white, light gray and brightly colored parts, and a gray or brown line for dark parts, where a black line disappears or looks harsh. Many builders use a softer line color on white armor because a pure black outline can look heavy at small scale.
Prep before you draw any lines
Cut parts from the runner cleanly, trim the gate marks and sand them smooth first. If you skip this, the nub marks catch the line color and show up as dark smudges. Wash the parts with mild soap and water if you have handled them a lot, since skin oil can make ink skate or spread unevenly.
Work on subassemblies rather than a fully built kit. A snapped-together arm or leg is easy to hold, and you can see each groove clearly. Do not glue the whole kit together before lining, because the lines run into joints and you need access to both sides of every seam. If you plan to paint, finish the paint and a gloss coat first, then line.
Deepen shallow grooves
Many entry-level kits have shallow panel lines that barely hold ink. If the line will not stay put and the marker just rides across the surface, deepen the groove with a scribing tool. Run the tip along the existing line in several light passes instead of one hard one, and keep the tool at a steady angle so the groove stays straight and consistent. Brush away the plastic dust before lining.
A dedicated scriber also lets you add extra lines to large flat panels, which is a common upgrade on simple kits. Keep any added lines in the same direction and spacing as the molded ones so they look planned. Our guide to scriber tools compares the options for this job. Deep grooves also help with washes, because a wash needs a channel to flow into.
Using a panel line marker
Press the tip lightly into the groove and pull it along in one steady motion. Shake or prime the marker according to its type, and test on a spare runner first, since a fresh marker can deposit more ink than you expect. Work in short sections so the ink does not dry before you can clean it up.
To remove excess, wipe with a cotton swab, a soft tissue or a plastic eraser, moving along the line instead of across it. Wiping across the groove drags ink out of the line. If a mark lands where it should not, a clean swab lightly dampened with the marker-compatible remover usually lifts it from bare plastic, but test a hidden spot first, because some paints and decals react to solvent. Markers are best for small and medium parts. Very long straight lines are easier with a wash.
Using an enamel wash instead
With an enamel accent color, touch a fine brush to the groove and let the thin liquid run along it. Do not paint the whole panel; the point is to let capillary action pull it into the line. After a few minutes, wipe the extra with a cotton swab dampened in enamel thinner, again moving along the line.
Enamel thinner can make stressed plastic brittle, especially on clear parts and thin joints that are under tension. Keep wash away from tight press-fit joints, and wipe it off promptly. Washes also work best over a gloss coat, because the smooth surface lets the excess wipe off cleanly instead of staining the plastic. If you need a refresher on which washes are worth buying, see the panel line wash comparison. Allow the wash to dry fully before handling the part.
Seal the lines with a top coat
Marker and wash lines can rub off with handling, especially on bare plastic. A clear top coat locks them in and also unifies the sheen across the kit. Matte gives a realistic, scale-appropriate look, while satin keeps a bit of life in the plastic. Spray in light coats from a distance, and keep the can moving to avoid runs.
Do the top coat after panel lining and after any decals or dry transfer marks. If you airbrush or use cans, work in a ventilated space and use a respirator. Our clear coat comparison covers gloss, satin and matte options for models. Once sealed, assemble the kit. Lines stay crisp and the plastic is protected from fingerprints during posing.
Common mistakes
The most common error is lining too heavy. A thick, uniform black outline flattens the kit and looks cartoonish. Use a lighter line on light colors and reserve the darkest line for deep recesses. The second is lining before cleaning gate marks, which leaves dark dots on the surface. The third is skipping the top coat and then losing lines the first time you pose the kit.
If a line looks too strong, wipe it back right away; it is much easier to remove while wet. If you are building a Gundam kit for the first time, our overview of Gunpla grades explains why a High Grade has shallower detail than a Master Grade and how that affects lining. Practice on the runner frame or a spare part before you commit to the face and chest, which are the most visible areas.
Frequently asked questions
Do I need to paint Gunpla before panel lining? No. Gunpla is molded in color, so you can line a kit straight from the box. Painting first only matters if you want a custom finish; in that case, apply the paint and a gloss coat, then line.
Which color should the panel lines be? Black works on white and bright colors, while gray or brown reads better on dark parts. A softer line often looks more natural than pure black.
Can I use a pencil instead of a marker? Yes, a sharp mechanical pencil works on light plastic and wipes off easily with an eraser, but it is softer than ink and should still be sealed with a top coat.
Should I panel line before or after the top coat? Line first on bare plastic or over a gloss coat, then seal everything with a final matte or satin coat.
Popular right now
- Best Magnifiers for Scale ModelingBuying guide
- Best Modeling Putty: Fill Seams and Gaps Like a ProBuying guide
- Best Airbrush Cleaners for ModelersBuying guide
- Best Hobby Lamps for Model BuildingBuying guide
- Best Brush Sets for Model Painting: Detail Brushes That Keep Their PointBuying guide
- Restoring Old Model KitsArticle
Based on the last 28 days of search and visitor data.