How to Stop Decal Silvering on Scale Models
Published How we research
Silvering is the shiny or frosted look that appears around and under decals when tiny pockets of air are trapped between the decal film and the model surface. It makes markings look like stickers rather than painted details, and it is often most visible on matte finishes and dark colours. Silvering is almost always caused by surface texture or application technique, and both are fixable.
Why decals silver
Decal film is thin and flat, but matte and satin paint surfaces are microscopically rough. When a decal is applied over that texture, air remains trapped in the tiny valleys, and light reflects off those pockets as a silvery sheen.
Panel lines, rivets and raised detail can trap air too, as can dust or dried decal adhesive under the film. Old decals that have lost flexibility are more likely to bridge over detail rather than settling into it.
Apply decals over gloss
The most important step is applying decals over a smooth gloss coat. Spray or brush a clear gloss varnish over the painted areas and let it cure fully according to the product instructions before starting.
Gloss gives the decal a smooth surface to bond with, so there are no valleys for air to hide in. Once the decals are dry, a matte or satin clear coat over the whole model blends the decal film into the surrounding finish.
Use decal setting solutions
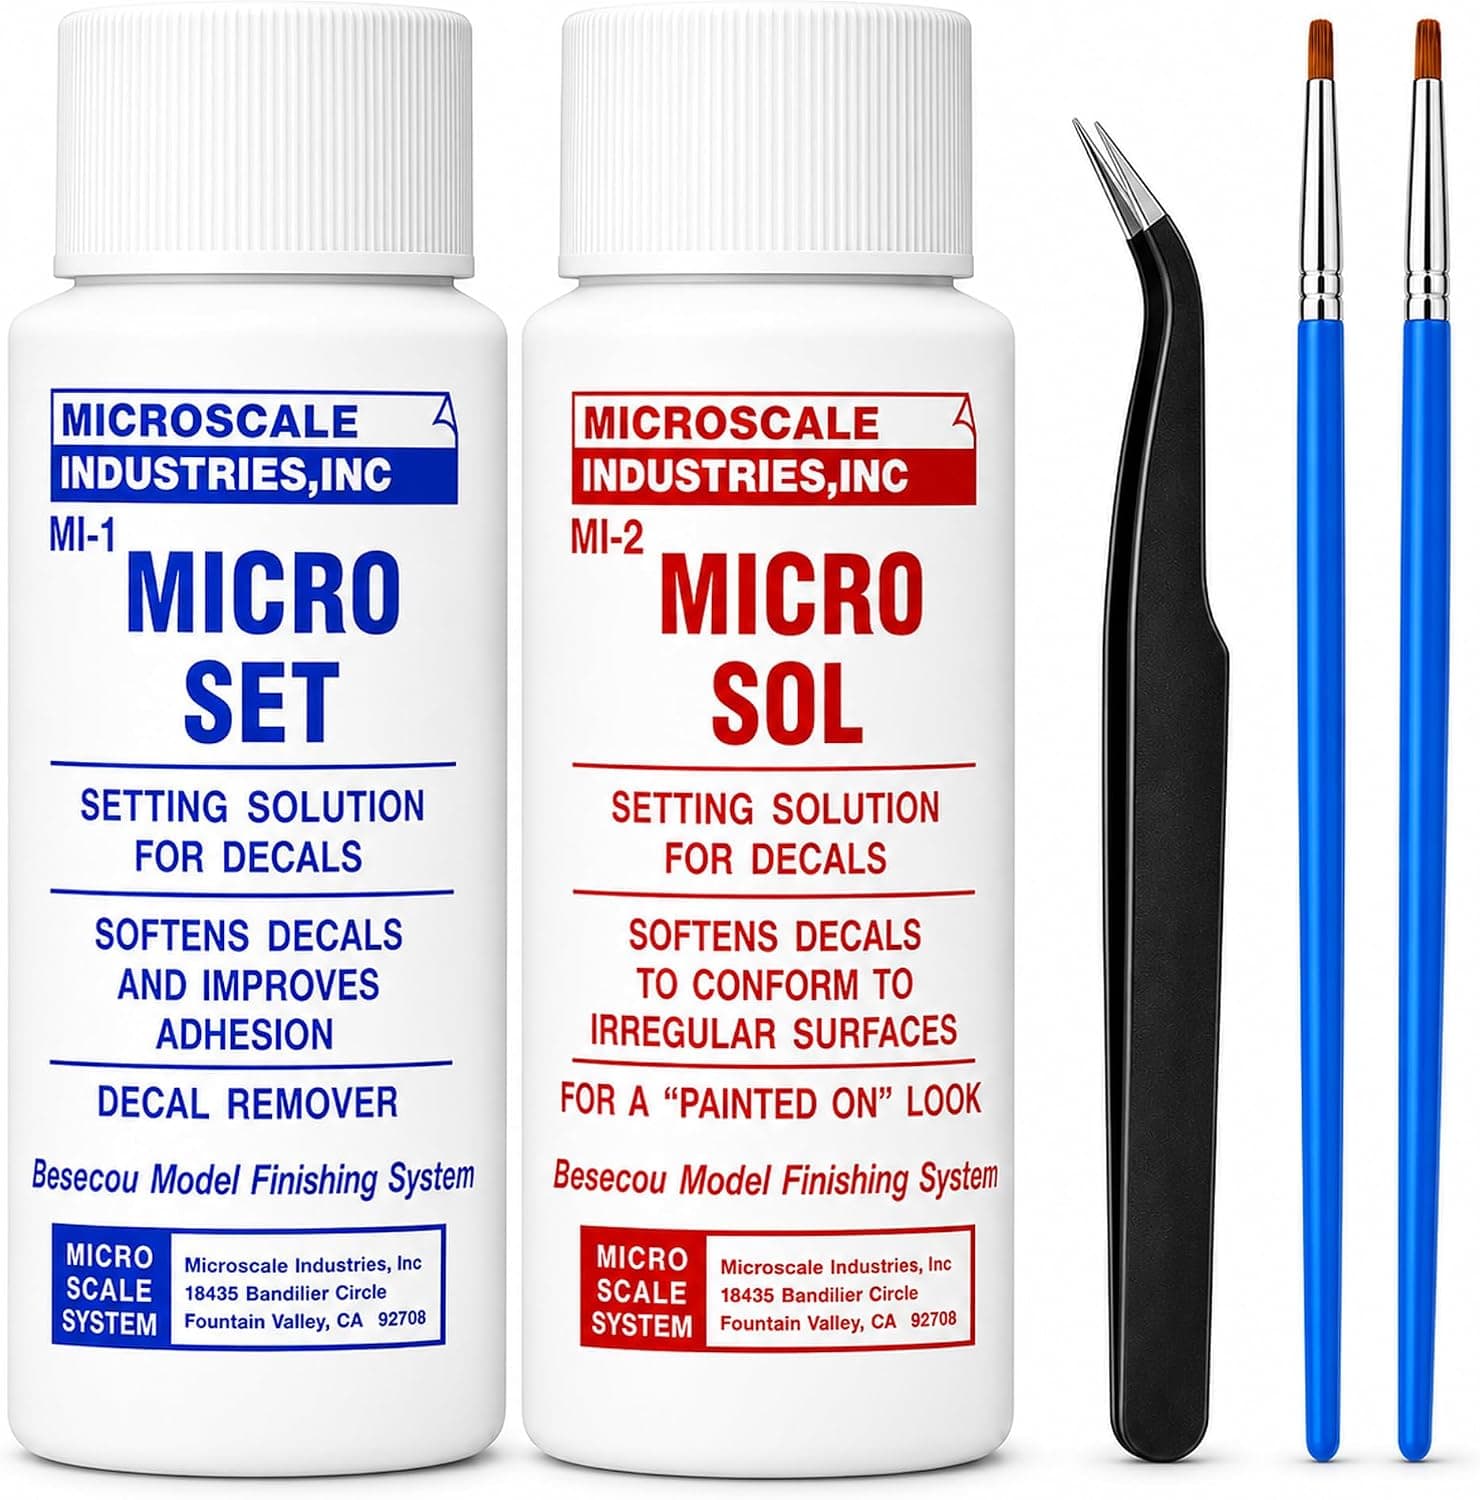
Decal setting solutions come in two main types. A setting solution applied under the decal improves adhesion and helps it slide into position, while a softening solution applied on top makes the film flexible so it conforms to panel lines and curves.
Apply softener sparingly and leave the decal alone while it wrinkles, since it usually flattens as it dries. Touching a softened decal can tear it, so be patient and apply a second coat only once the first has dried.
Remove water and air
Once a decal is positioned, gently press out water and air bubbles by rolling a cotton swab or blotting with a soft tissue from the centre toward the edges. Trapped water can leave air pockets as it evaporates.
For stubborn bubbles, prick the decal film with the tip of a sharp hobby knife and apply a little softener. The solution wicks under the film and pulls it down onto the surface.
Fix silvering after the fact
If silvering appears after drying, apply more decal softener over the area and gently press with a damp cotton swab. Small cuts along panel lines can also help the decal settle into recessed detail.
A gloss coat over the decal followed by a final matte coat can make mild silvering far less visible. For severe cases, remove the decal with tape or decal remover and apply a replacement over a better gloss surface.
Trim carrier film
Many decals have clear carrier film extending beyond the printed design. Excess film is more likely to silver, especially on matte surfaces.
Trim decals as closely as possible with sharp scissors or a hobby knife before soaking them. Test decals from old kits on a spare surface to see whether the film has become brittle.
Products from this article
The highest-scoring picks from the buying guides mentioned above. Scores are our editorial assessment, not customer ratings.
+ Micro Set prepares surfaces and Micro Sol softens decals
From our guide: Best Decal Setting Solutions: Softeners That Snuggle Decals Into Detail
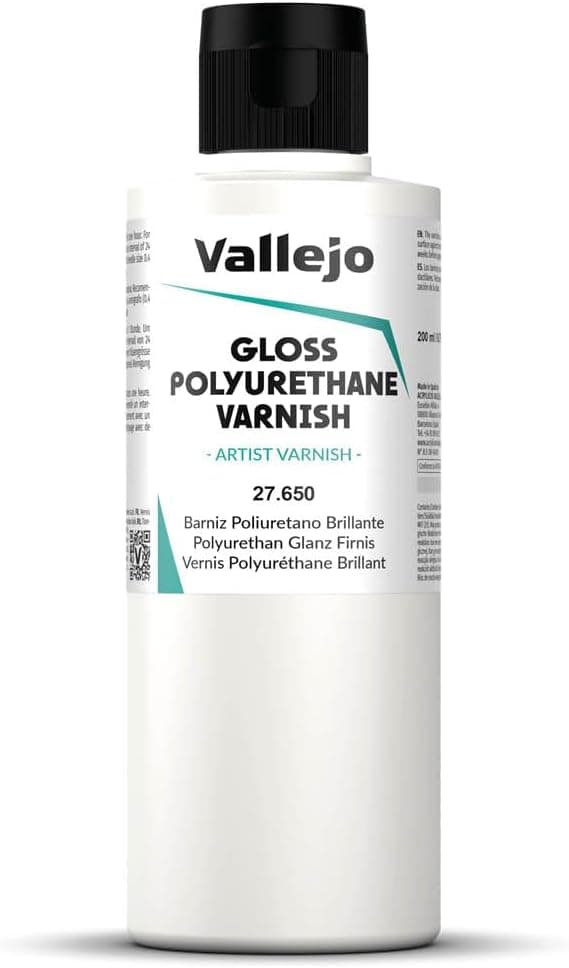
+ Polyurethane formula resists handling wear well
From our guide: Best Clear Coats for Models: Gloss, Satin, and Matte Finishes Compared
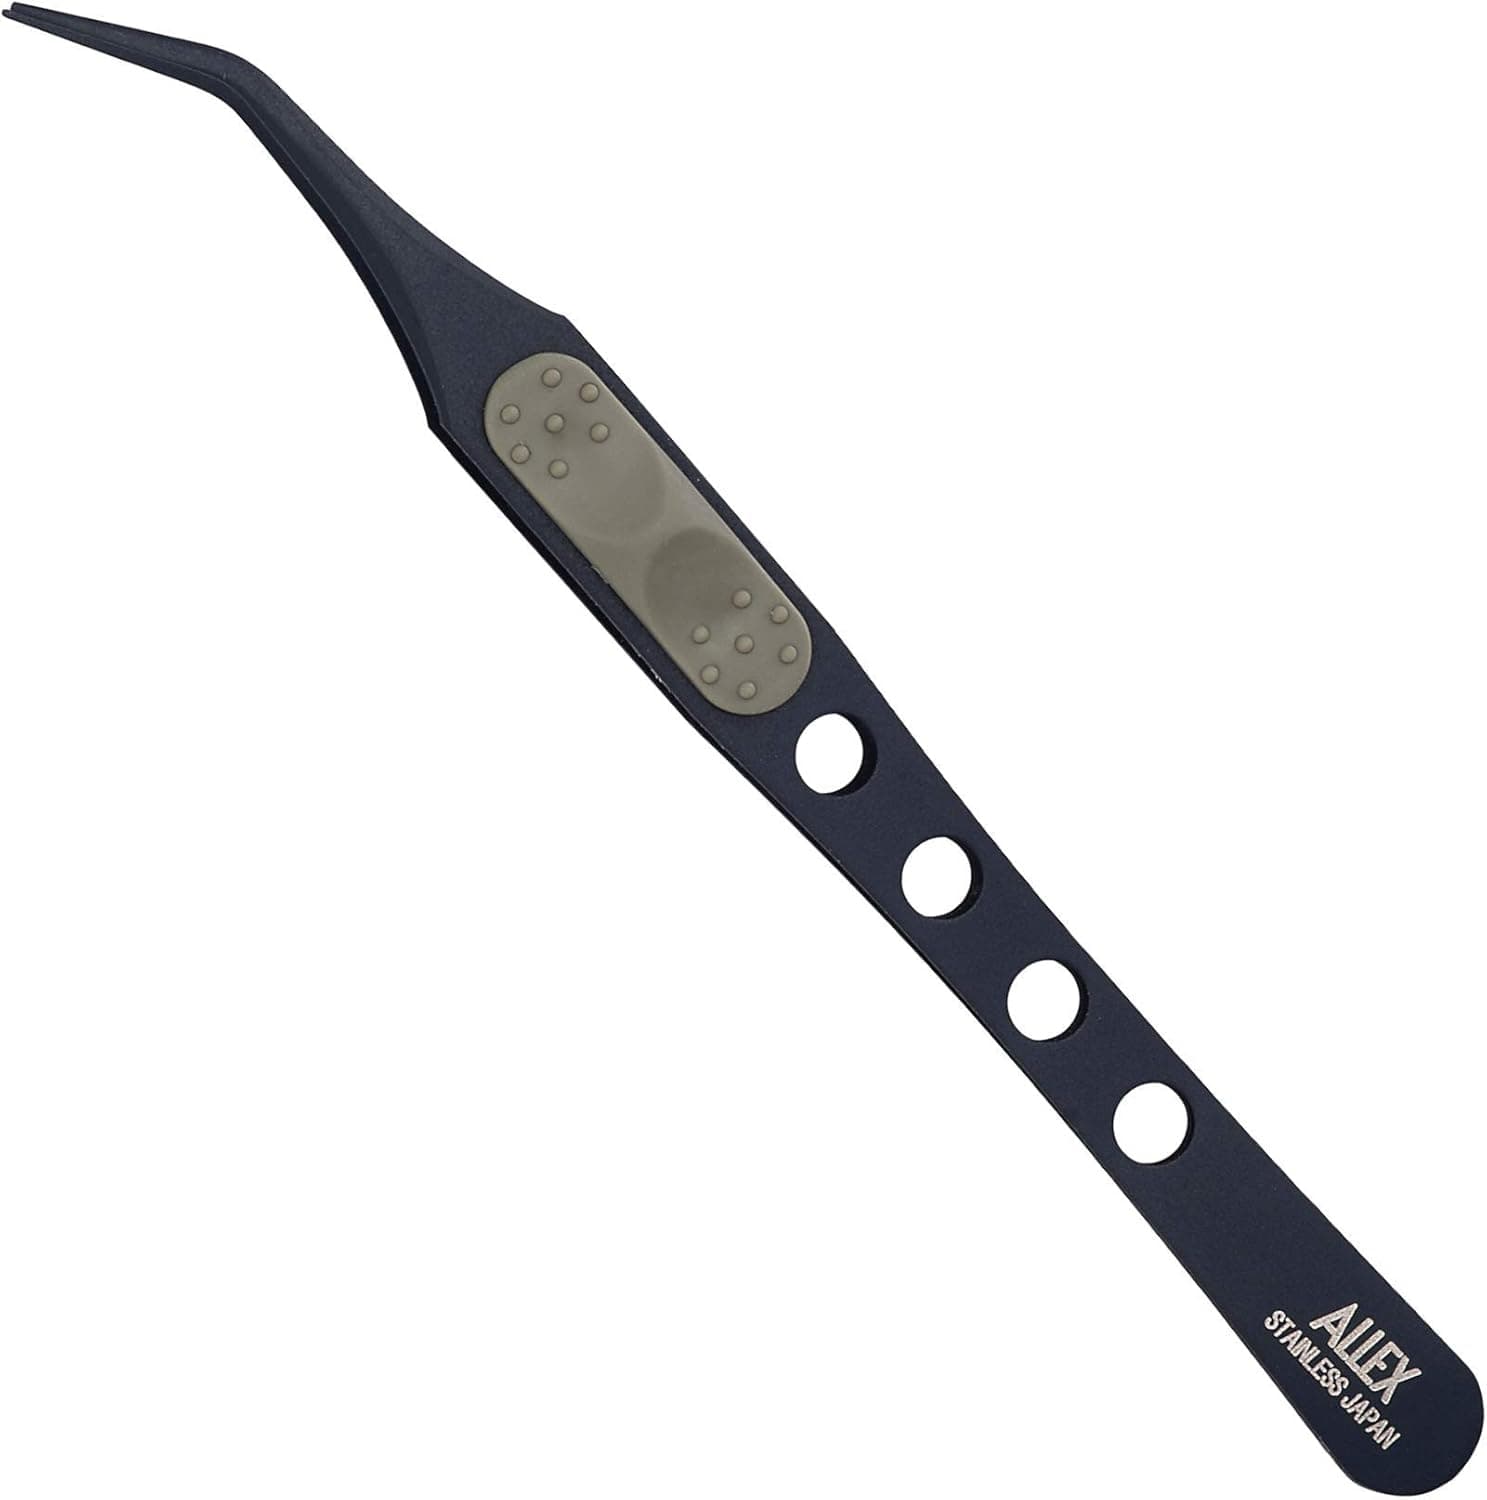
+ Non-stick coating keeps stickers and decals from clinging
From our guide: Best Tweezers for Decals and Fine Parts
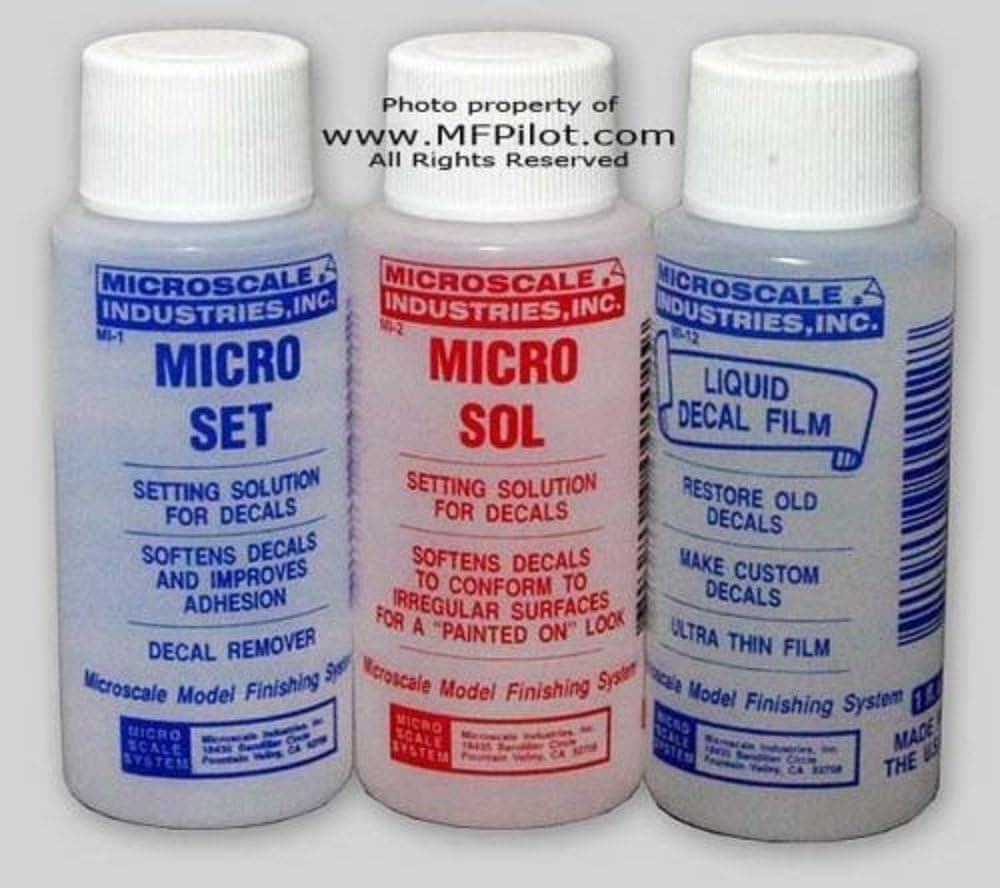
+ Decal Film seals old or fragile decals before use
From our guide: Best Decal Setting Solutions: Softeners That Snuggle Decals Into Detail
Popular right now
- Best Magnifiers for Scale ModelingBuying guide
- Gluing Model Kits Without MessArticle
- Applying Decals ProperlyArticle
- Understanding Model ScalesArticle
- Restoring Old Model KitsArticle
- Removing Parts from Sprues Cleanly Without DamageArticle
Based on the last 28 days of search and visitor data.