How to Stop Glue From Fogging Clear Model Parts
Published How we research
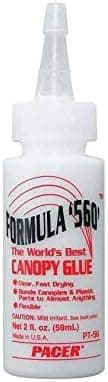
Clear canopies and windows are among the most noticeable parts of a finished aircraft or vehicle model, so a cloudy haze or fingerprint-like marks after gluing are disappointing. The main culprits are cyanoacrylate glue fumes and solvent cements, which react with clear styrene and frost the surface. Using the right adhesive and a little preparation keeps clear parts crystal clear.
Why clear parts fog
Cyanoacrylate (CA) or superglue releases vapours as it cures. These vapours react with moisture in the air and deposit a white residue, known as blooming or frosting, on nearby surfaces, especially inside enclosed spaces like cockpits.
Solvent-based plastic cements melt styrene to form a bond. If cement touches the visible surface of a clear part, or fingerprints with cement residue touch it, the plastic surface is permanently marred.
Use canopy glue or PVA
Canopy glues and white PVA-based glues dry clear and do not produce fumes that fog plastic. They remain slightly flexible, which also helps with small gaps around canopy edges.
Apply a thin bead of glue to the fuselage or frame, not to the clear part, and position the part carefully. Wipe away excess with a damp cotton swab while it is still wet, and tape the part in place while it dries.
If you must use CA glue
Use odourless or low-bloom CA glue, apply the smallest possible amount with a fine applicator and ensure good airflow. A small fan blowing gently across the model removes fumes before they settle.
Avoid using CA accelerator near clear parts, since it increases fuming. Let the glue cure with the model open to the air rather than in enclosed spaces.
Protect clear parts beforehand
Dipping clear parts in a clear acrylic floor polish or gloss clear coat before assembly adds a protective layer and improves clarity. Let the coating dry under cover to keep dust off.
Handle clear parts only by their edges or with tweezers, and keep them sealed in a bag until needed. Masking the visible areas before painting protects them from overspray and glue.
Restore fogged or scratched parts
Light fogging can sometimes be improved by polishing with plastic polish or very fine polishing cloths, then applying a clear gloss coat. Work gently and support the part to avoid cracking.
Heavily damaged clear parts may need replacement. Many aftermarket suppliers offer replacement canopies for popular kits.
Plan assembly order
Install clear parts as late as possible in the build to reduce handling and exposure to glue and sanding dust. Finish painting cockpits and interiors before attaching them.
Test-fit clear parts before gluing and adjust the frame to reduce gaps, so you need less glue and filler.
Products from this article
The highest-scoring picks from the buying guides mentioned above. Scores are our editorial assessment, not customer ratings.
+ Dries crystal clear so it will not fog canopies
From our guide: Best Canopy Glue for Model Aircraft: Clear-Part Adhesives That Won't Fog
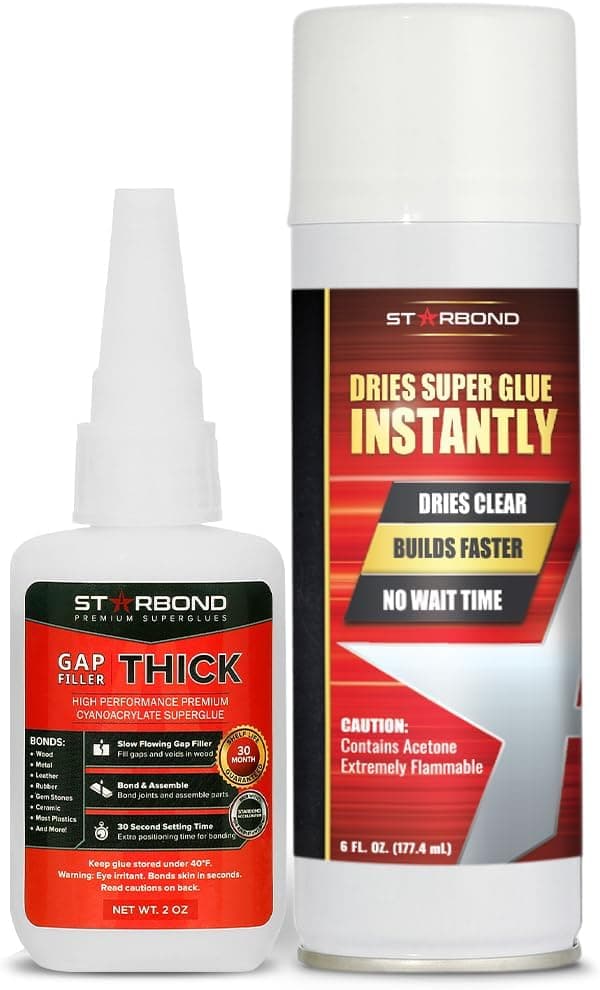
+ Activator included, so thick CA cures on demand
From our guide: Best CA Glue for Scale Models: Super Glues for Resin, Metal, and PE
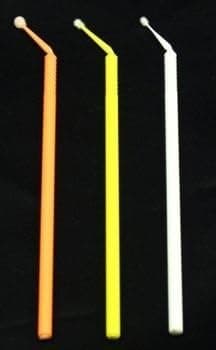
+ 400 applicators provide a huge disposable supply
From our guide: Best Glue Applicators for Scale Models: Precision Tips, Loops, and Bottles
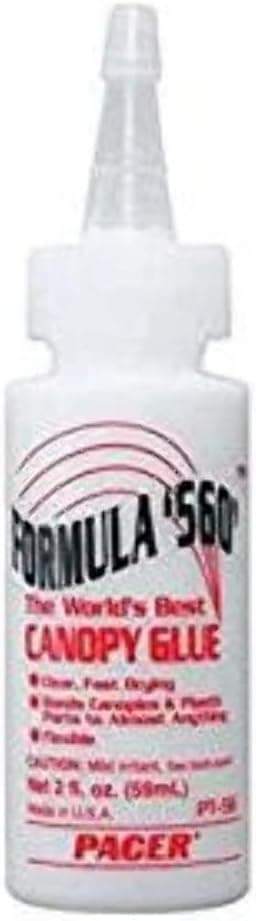
+ Formula 560 is widely recommended for canopy fitting
From our guide: Best Canopy Glue for Model Aircraft: Clear-Part Adhesives That Won't Fog
Popular right now
- Best Magnifiers for Scale ModelingBuying guide
- Gluing Model Kits Without MessArticle
- Applying Decals ProperlyArticle
- Understanding Model ScalesArticle
- Restoring Old Model KitsArticle
- Removing Parts from Sprues Cleanly Without DamageArticle
Based on the last 28 days of search and visitor data.